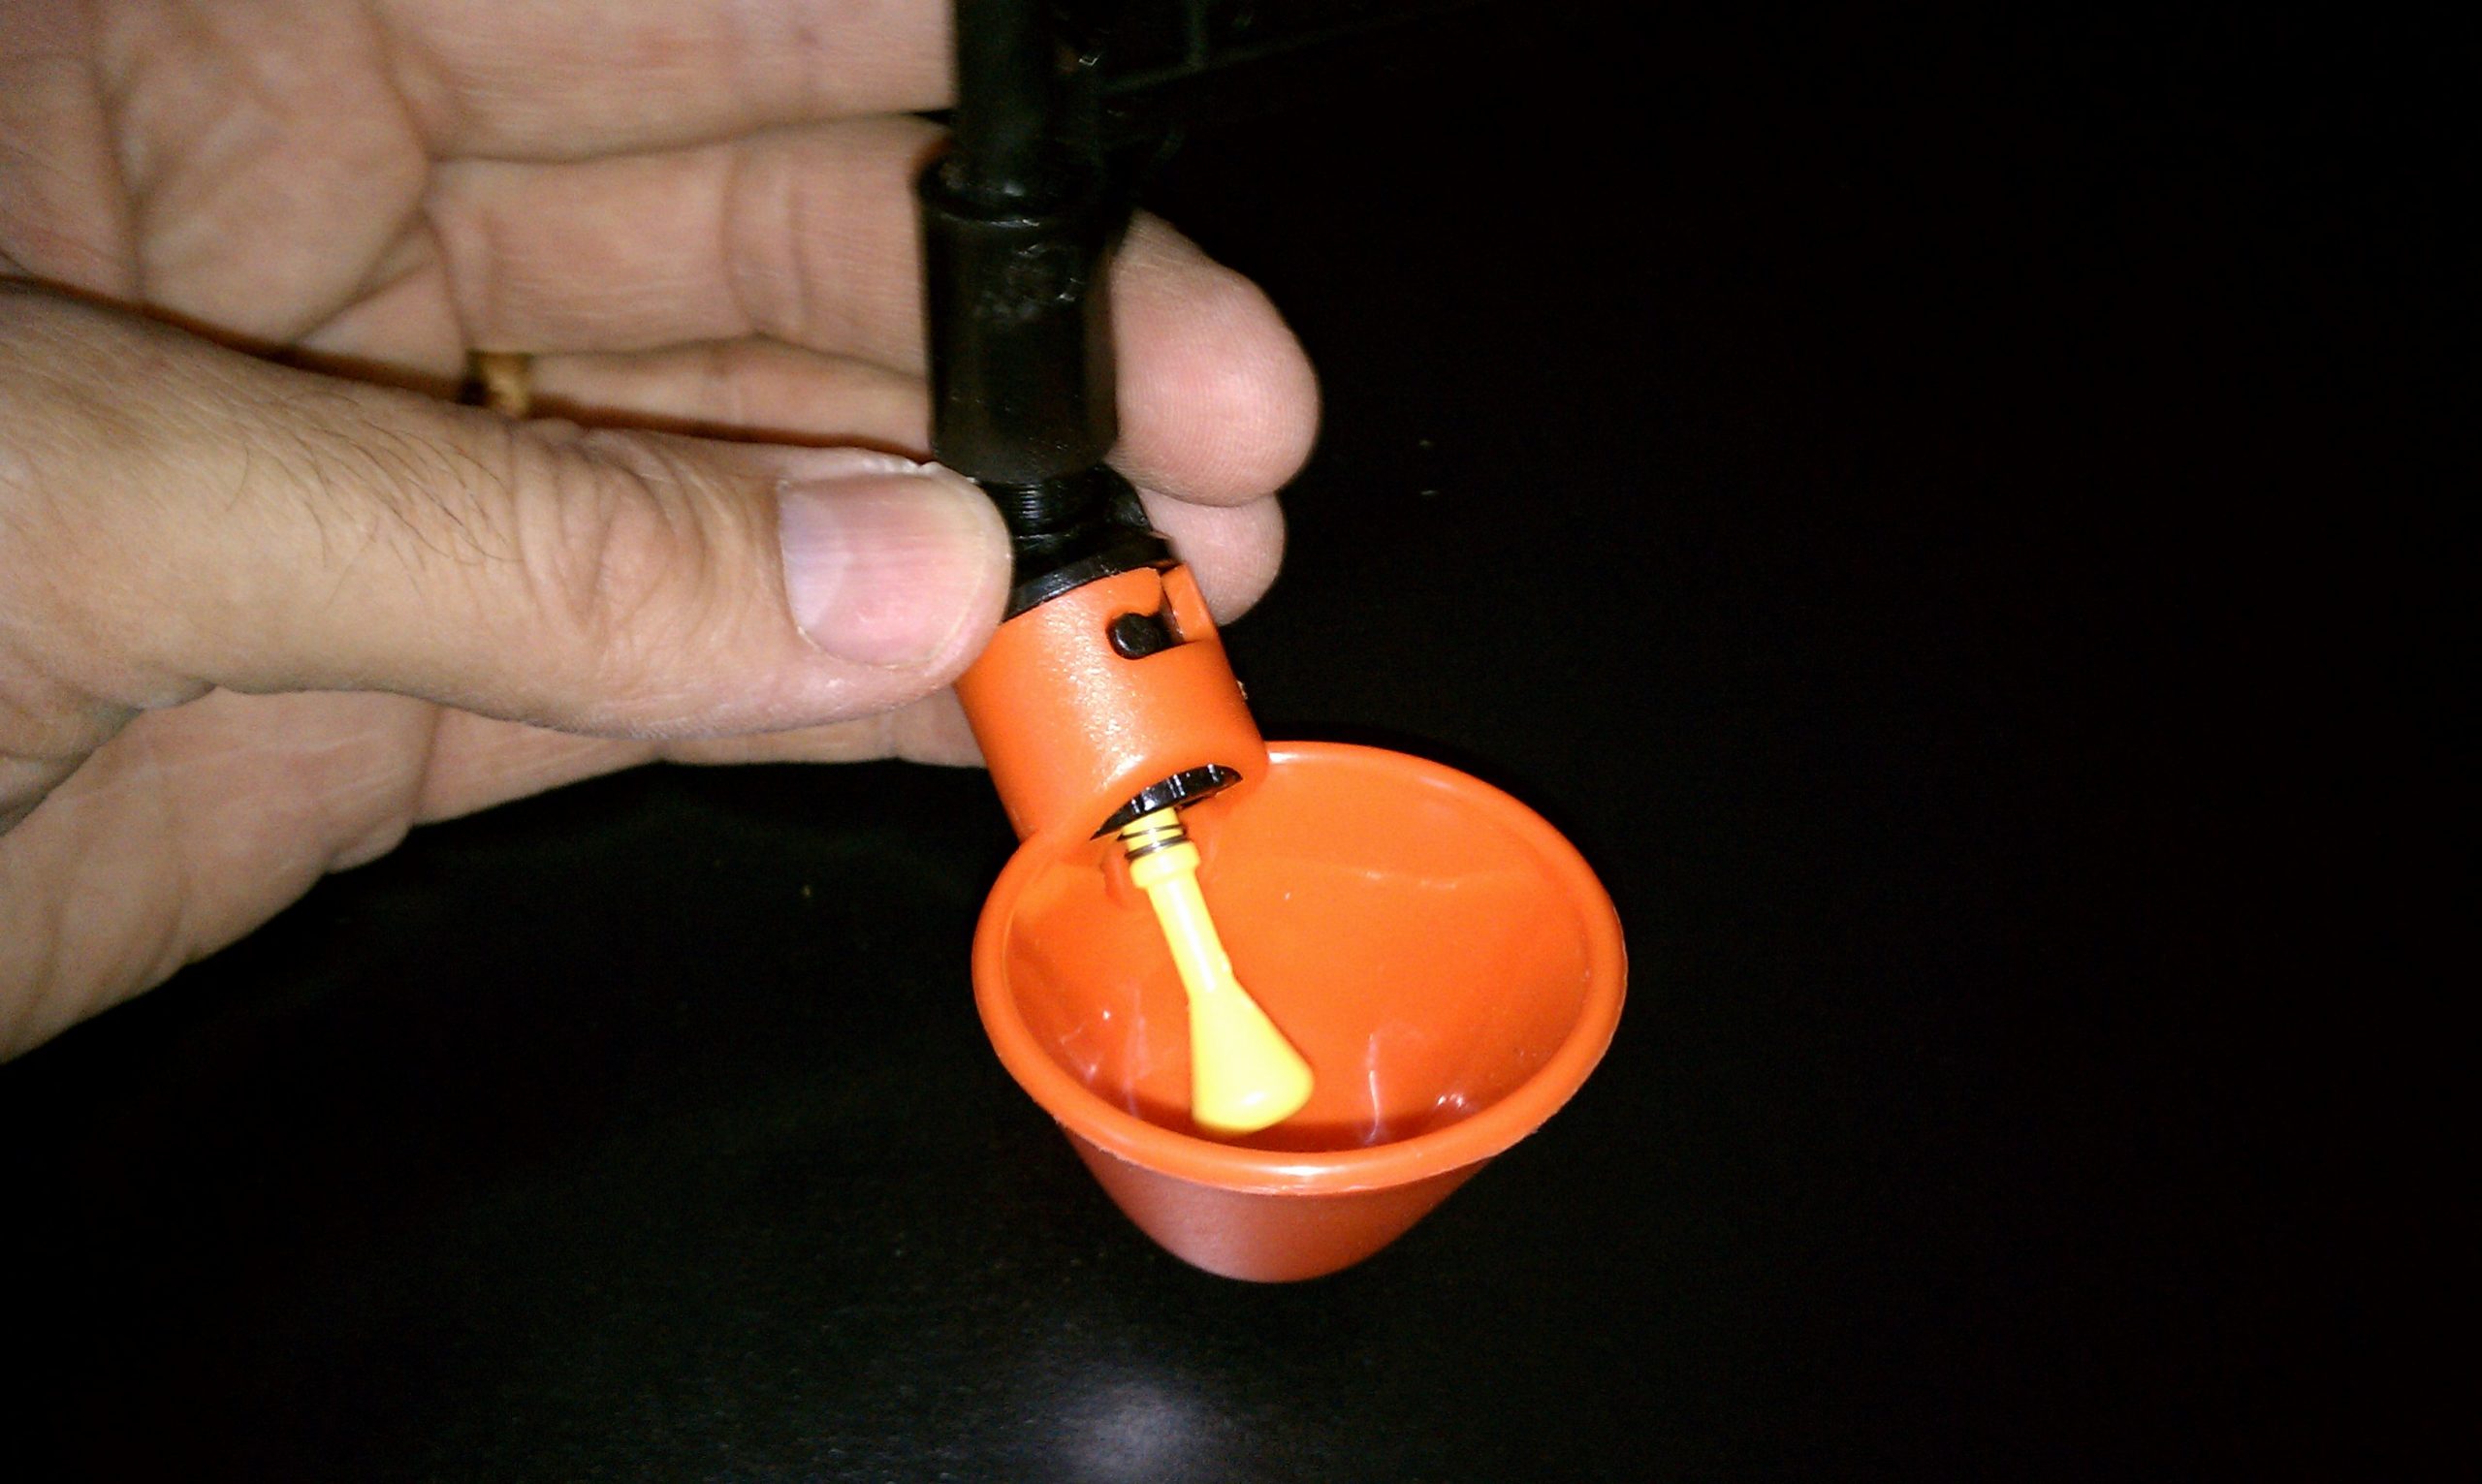
I thought long and hard about what I wanted to do to keep the babies in fresh water with an automatic chicken watering system. So after extensive research and testing, I found that the “watering cups” and watering nipples were the best bet for the exterior of the coop. (Important: both must be connected to a Low Pressure Poultry Watering Valve) I used the Little Giant Automatic Bird Fount Waterer in the corner of the coop’s interior, raised up a neck level.
(I first installed them in the interior, then realized I liked them better on the exterior)
My requirements
I wanted to have an automated watering system so that:
- the water would stay clean and fresh (chickens love to climb ((and poop)) on everything)
- I wouldn’t have to constantly change it out
- we could leave on vacations once in a while without worrying
- I wouldn’t have to worry about the water freezing in winter
Construction Steps:
- map out layout/fittings
- *carefully* drill (with hole saw) 5/16″ holes in pvc
- *carefully* cut threads into pvc (12″ apart to avoid chickens crowding) with properly sized tap.
- thread teflon tape onto cups’ male threads
- *carefully* thread cups into pvc (then remove to allow for for flushing pipe after fitting)
- cut pipe to length and glue together (wait 24 hrs before turning on water pressure)
After reading about how messy chickens can around their food and water (in addition to knowing what a pain it is to continually refill and fresh water manually) here’s what I bought:
Materials and Products Used
(my affiliate links)
- 1/2″ schedule 40 pvc
- Pressure Reducing Valve For Low Pressure Poultry Watering Systems 5 lbs (or less)
- Poultry Watering Cups
- Little Giant Automatic Bird Fount Waterer
- 25 Pack Water Nipple Drinker Chicken Feeder – Screw In Style
- 1/2″ pvc fittings
- 1/2″ pipe straps
Lessons learned
Pressure Reducer
YOU MUST NOT HAVE WATER PRESSURE OVER 5 LBS! (no exceptions)
Learn it from my trials and errors (trying to not spend the money on more expensive pressure reducers) At first, I tried to use a drip system pressure reducer (even found one that reduces to 10 lbs) Not only did it spray when it discharged, (it should drain, not spray) but it also wouldn’t even discharge at all when depressing the little valve normally. (which is all you’re going to get out of a pecking chicken beak) So they simply didn’t work. I did purchase a more expensive pressure reducer![]() and the valves operated perfectly.
and the valves operated perfectly.
Winter/freezing weather: make sure to get some sort of heating system on your pipes & valve. (even just a lightbult) Our 1st freeze the nipples blew right out of the pipes and the fount waterer froze with the girls pecking at an ice cube.
=^ | (frustrated face for having to fix this with cold fingers)
Additional info:
I tested with a big soda bottle and it worked great. (just to give you a hint of the kind of pressure you should have)


Dear David,
Thank you for sharing your water set up. I am brainstorming for the watering system we will install in our new coop this summer and I have been imaging something similar to what you have described here. I would love to have a system that is connected to our in coop water source that I can easily flush/clean the piping and have fresh water for my flock, with minimal effort. I’m all about more work upfront so things can be efficient later. Its been 5 years since you posted this. Do you still like your water system? What, if any, issues have you come up against? What is the cleaning process like (my biggest concern)? Do you get a bio film accumulating in the pipes and how do you solve if this does happen? If you were starting over what, if anything, would you do anything differently?
Thank you again for sharing.
Best,
Abigail
Thanks for the questions, Abigail. I actually don’t live there anymore, (but I got a really nice lift in the home’s purchase price, specifically b/c of the coop) =) But in the 5 years that I lived with the system, The watering system worked really well. The only thing I had to clean was the bowl, since the hens always created a big dust storm within the coop itself. The nipples never needed cleaning, although I did flush the pipe twice per year. (just unscrewed the 1/2″ cap at the end. The only real issue was potential freezing (but I solved it with that Arduino triggered lamp to boost the temp a little. Cheers!
Hey Dave!
WOW, you’ve really outdone yourself here. Everything you’ve done is nothing short of amazing my friend. I can’t wait to start building my own!
I’m James, a food growing educator and fellow nerd.
I’ve been doing front-end dev for years and my friends have been getting me into Arduino.
You’ve already saved me probably hours if not months of trail and error when it comes time to automate my coop.
Listen, I’ve got a few ideas to help share this with more people.
Shoot me an email and we’ll chat!
Thanks Dave,
James~
Thanks for the nice words, James.
I’d love to see what you’re doing… I’ll definitely check out your site and get in contact.
Thanks again, brother!